
Vinyl decals and wall quotes can sometimes seem tricky to apply. However, they are quick and easy to install. By following the six-step process below, you can apply a vinyl decal painlessly to any surface, avoiding folding, tearing, or creasing your decal.
Depending on where you ordered it, your wall decal probably arrive in a cardboard tube mailer like the one below:
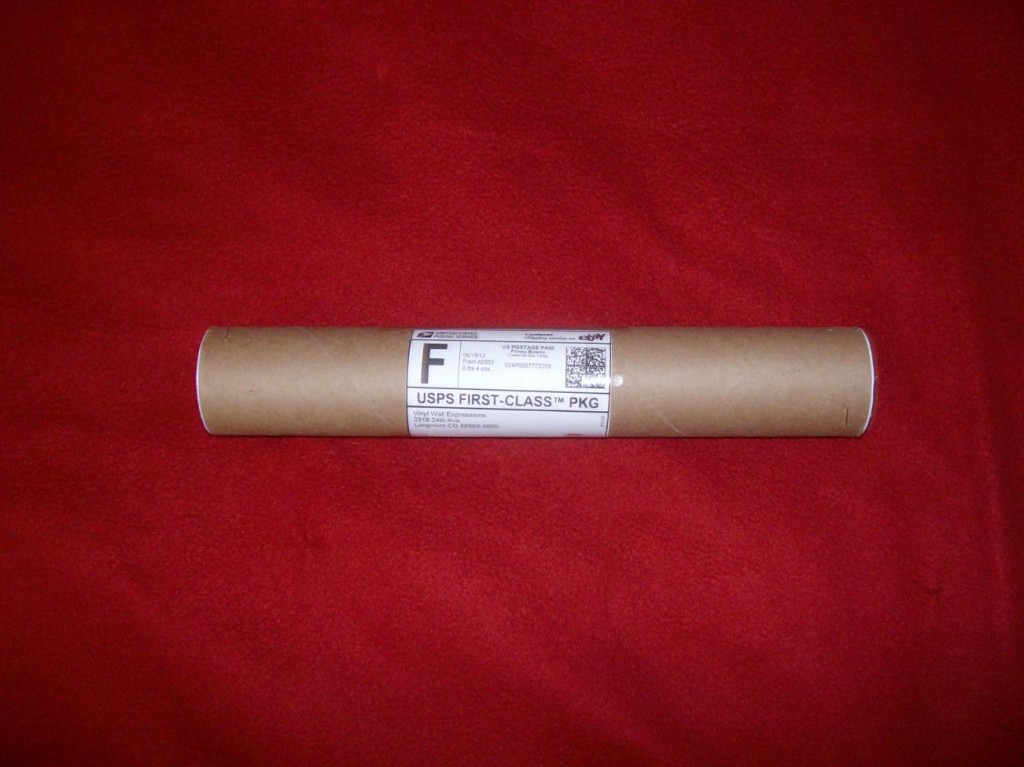
Inside the cardboard tube, you’ll find your vinyl decal attached to transfer paper or a similar backing. Most vendors will also provide some sort of written instructions on how to apply your decal, but those aren’t always especially descriptive or helpful.
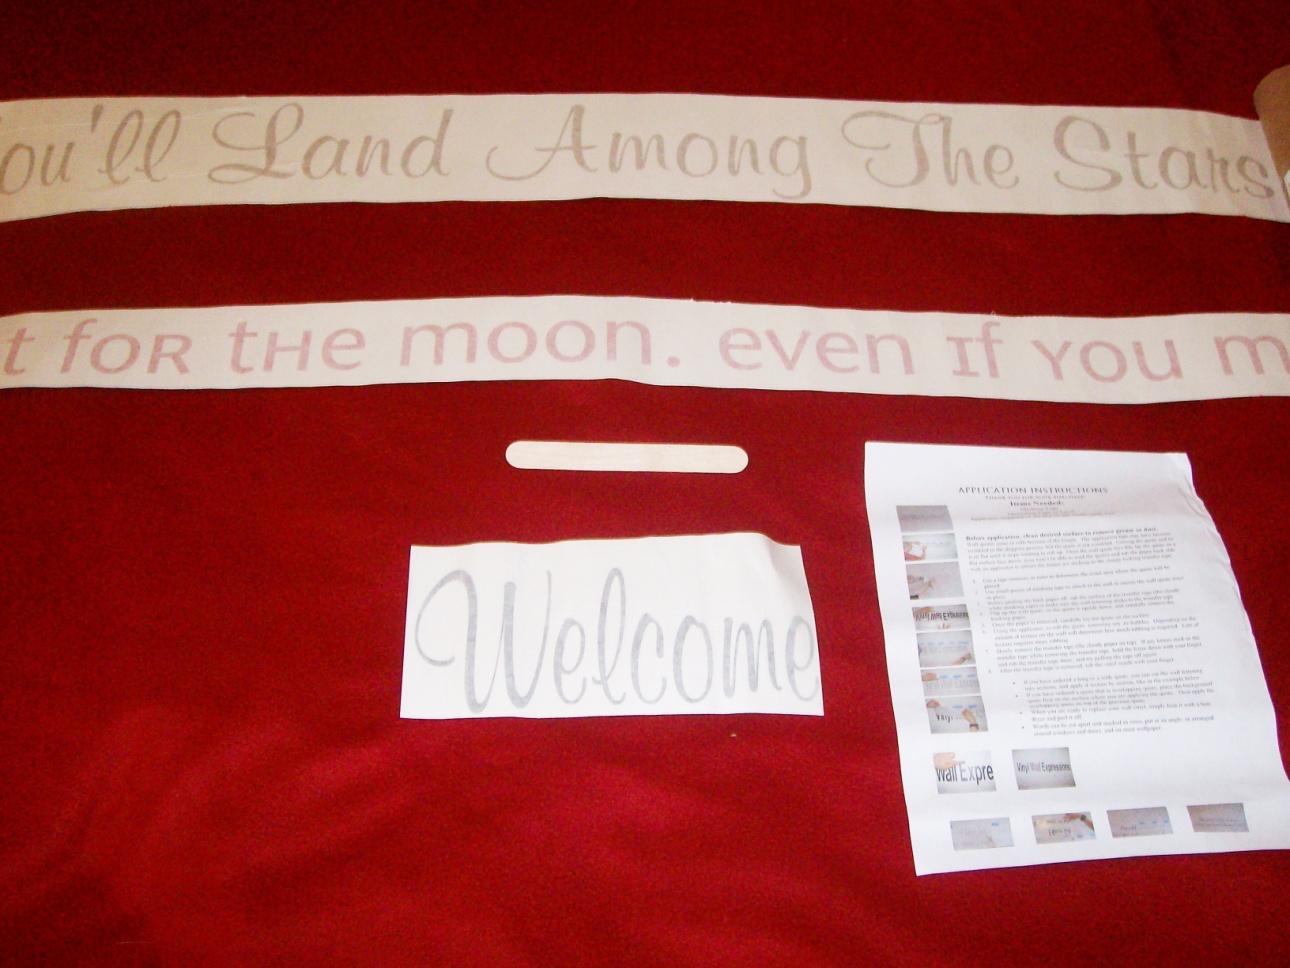
Materials
Outside of what’s included in the package you’ll need all of two basic household items:
- Masking Tape
- Measuring Tape OR Level (This one’s optional and only necessary if you’re a perfectionist.)
Let the quotes lie flat for a while (because they come rolled up), or just roll them backwards a few times.
Use the level or measuring tape to determine exactly where your quote will go. This is especially important if you are applying a larger decal or wall quote. It can also help if you gently wash/wipe away the dirt on the wall, and then allow it to dry.
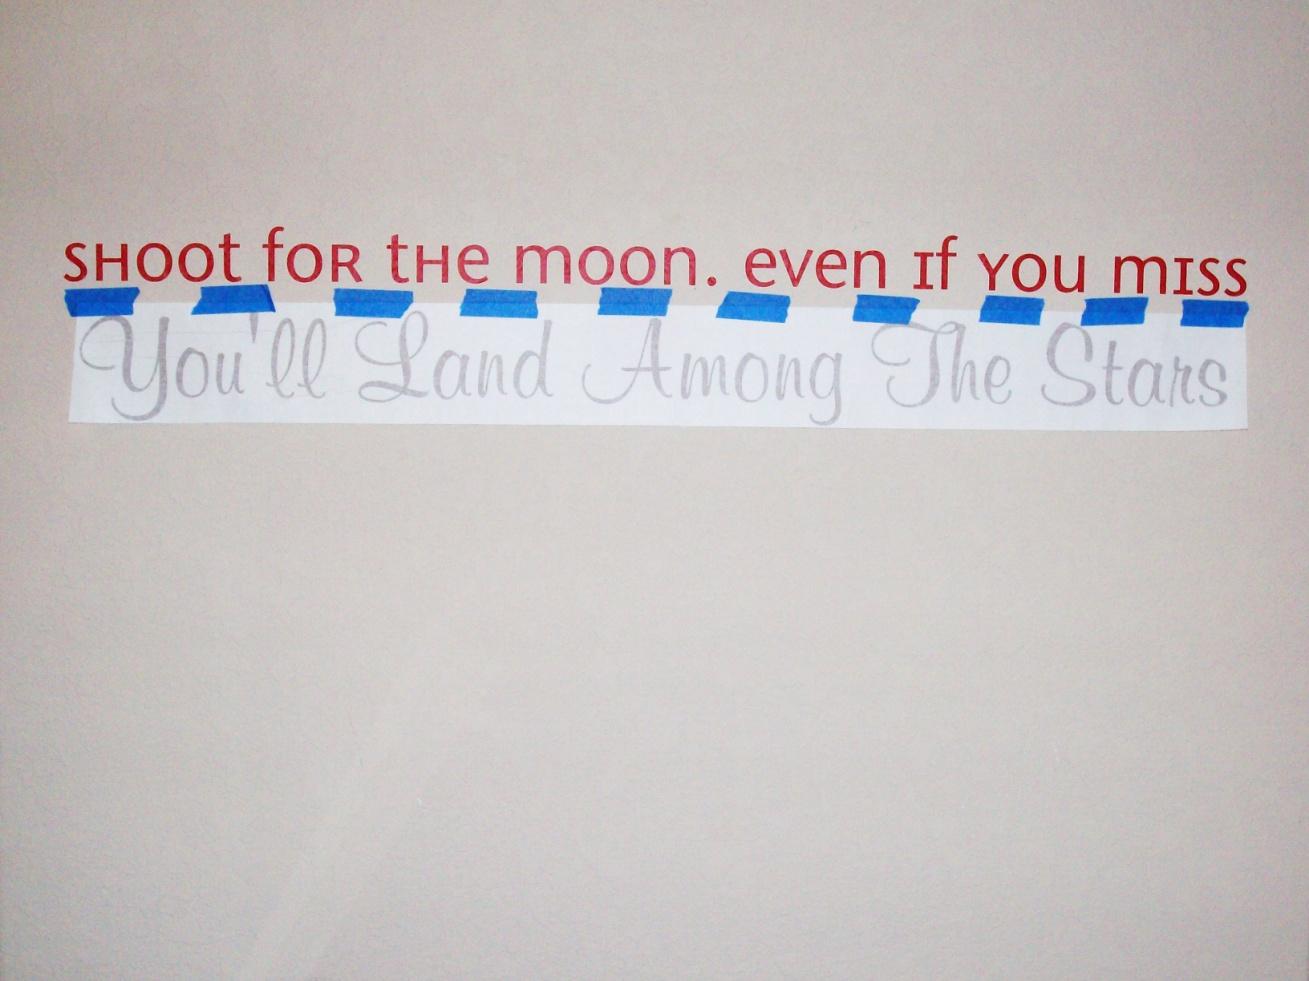
Note: I’ll be demonstrating the process with the second line of our quote. So, we’re starting with this:
Applying the Decal
1. Tape the decal to the wall
Think of the quote like a sandwich – on the bottom you have your back paper, then the actual letters of the quote, then the transfer tape on top.
First, use the masking tape to tape your quote to the wall, facing forward. Think of the quote like a sandwich – on the bottom you have your back paper, then the actual letters of the quote, then the transfer tape on top.
Caitlin’s Confession: Influenced by my less-particular sister, I didn’t actually use the level. We eye-balled it.
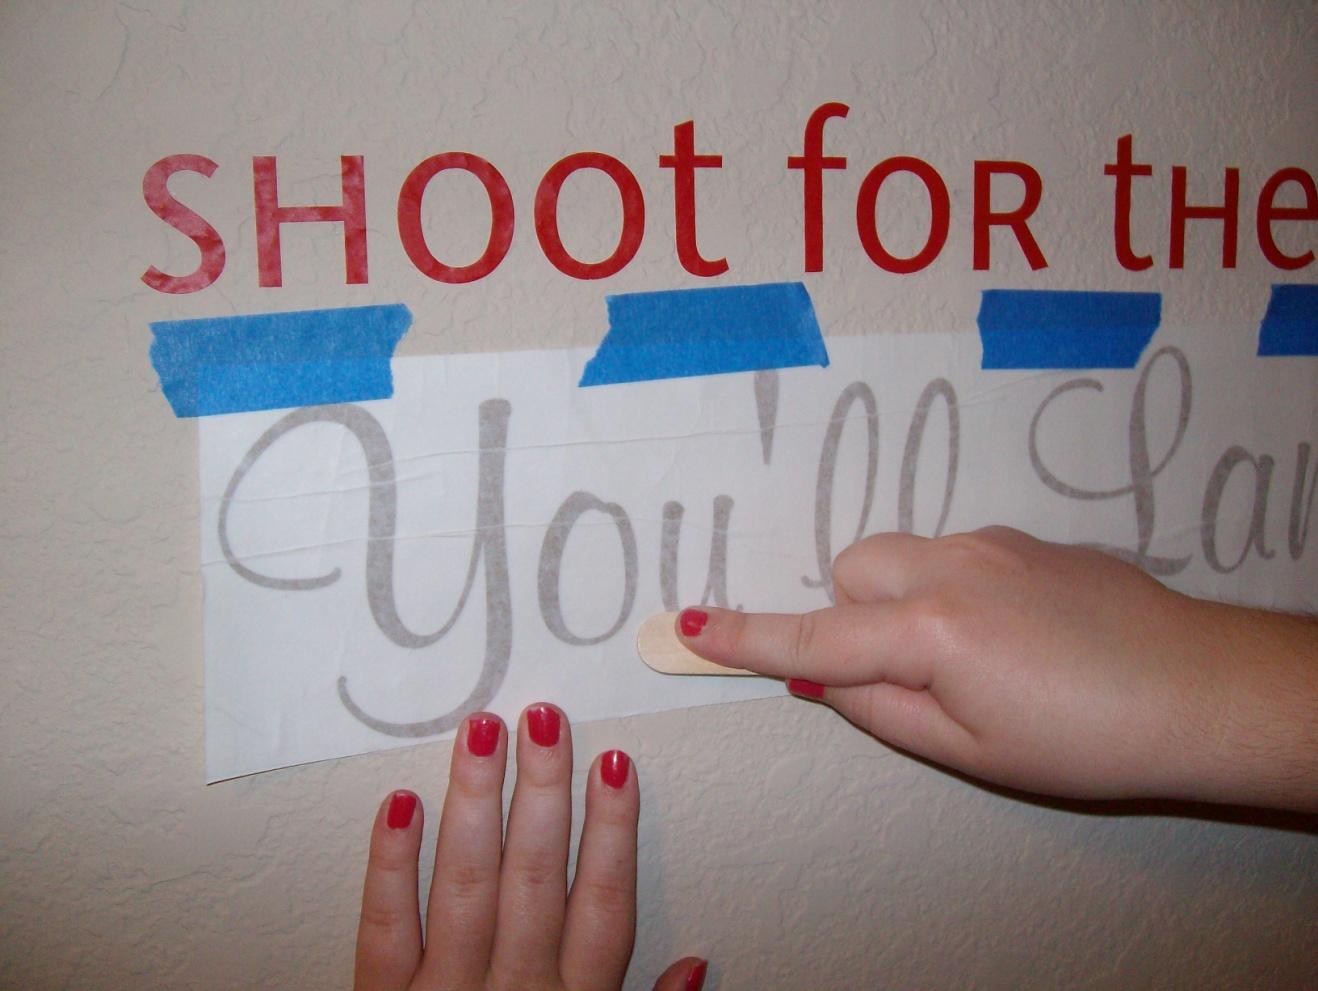
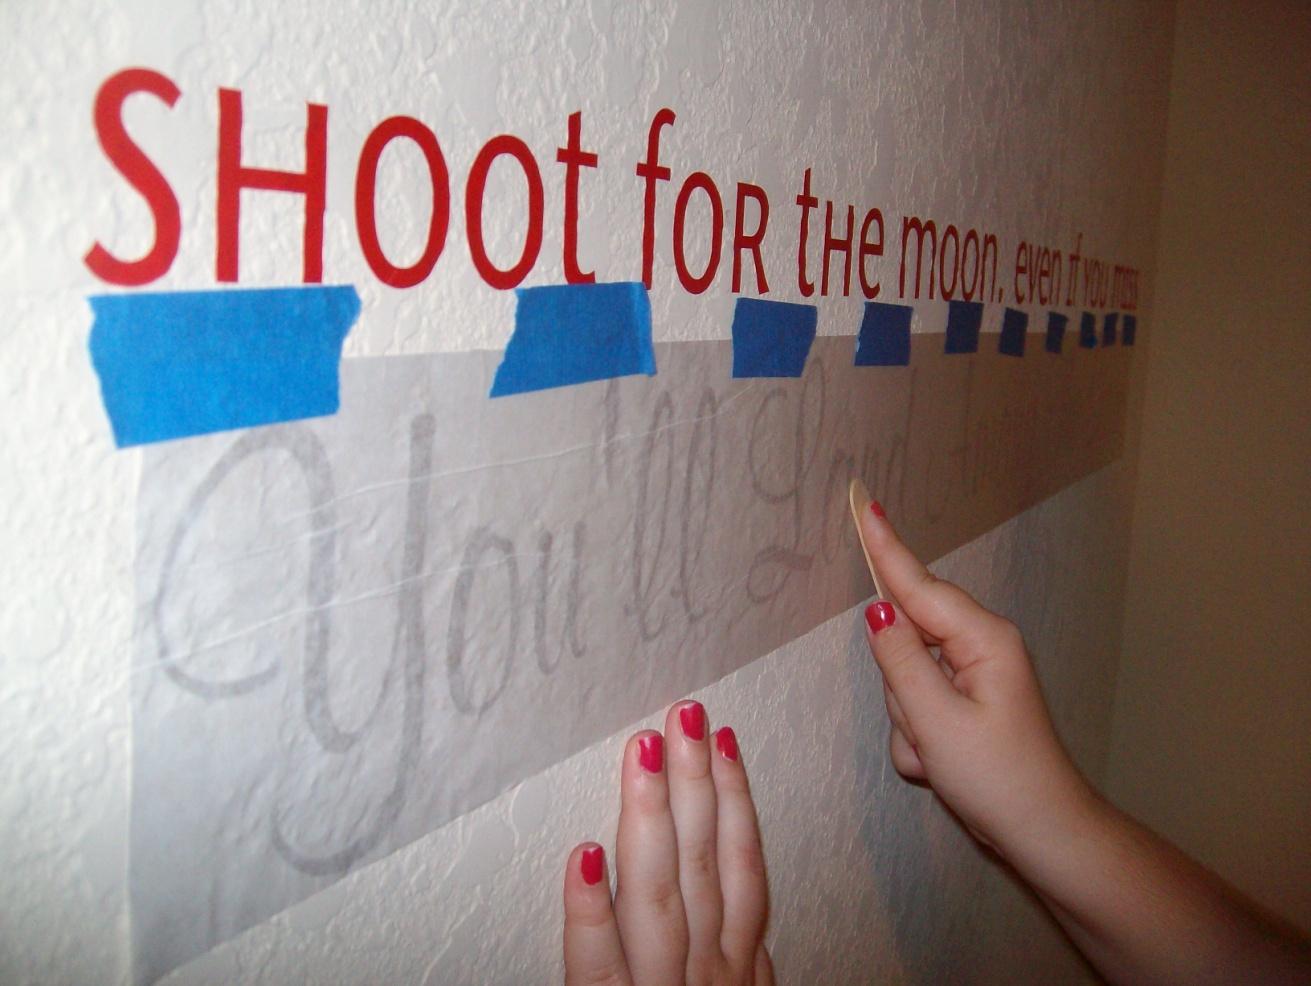
2. Rub the decal onto the wall
Use the applicator to rub the letters, with it still encased in the transfer paper. (It’s still a sandwich). My wall was highly textured, so I had to rub and rub and rub and rub.
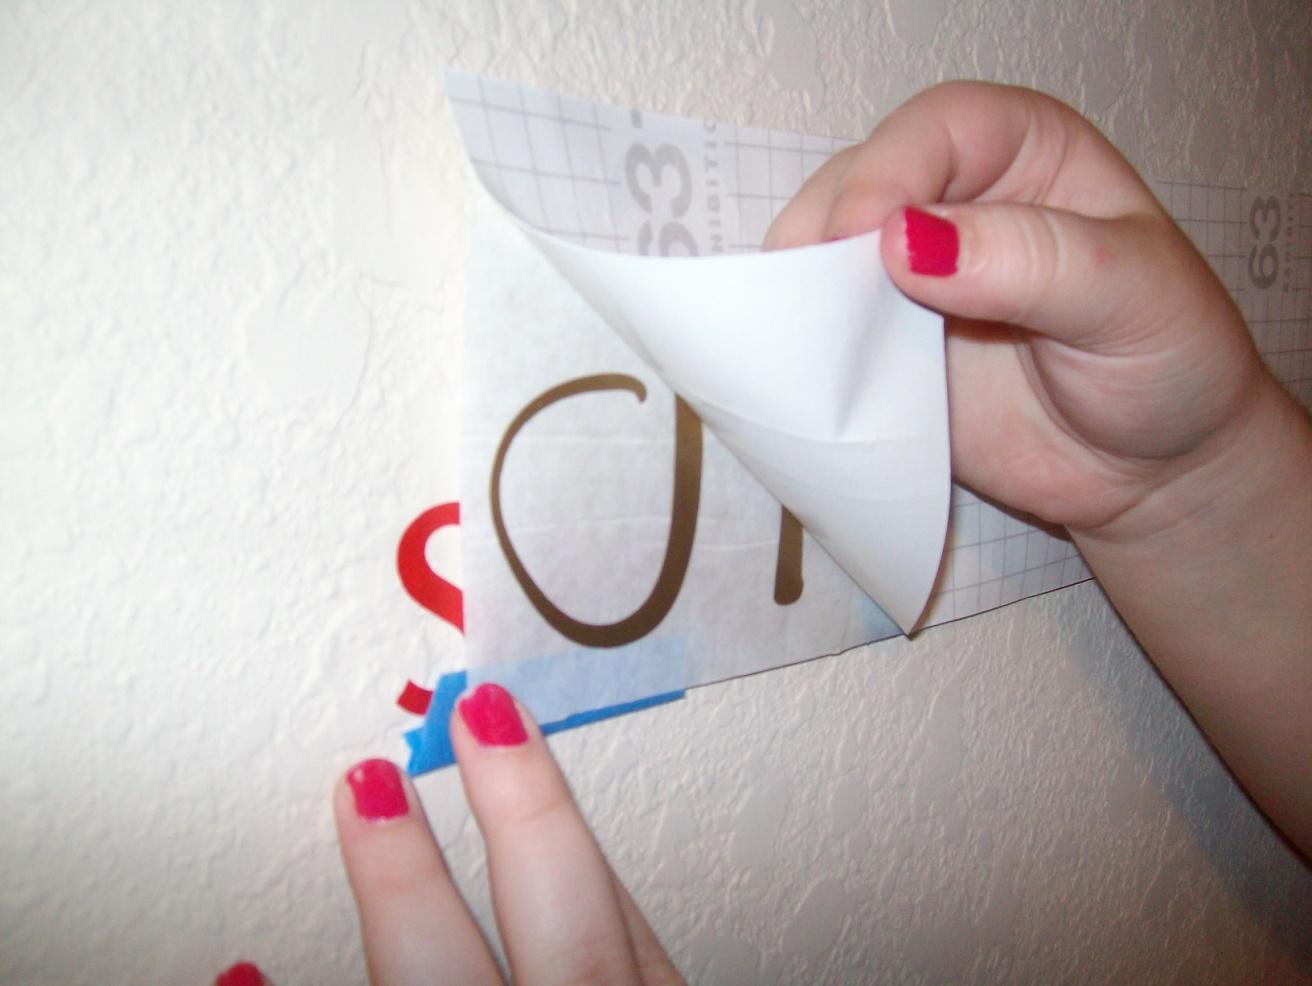
3. Flip the decal up
Just flip it on itself, so you can remove the back paper.
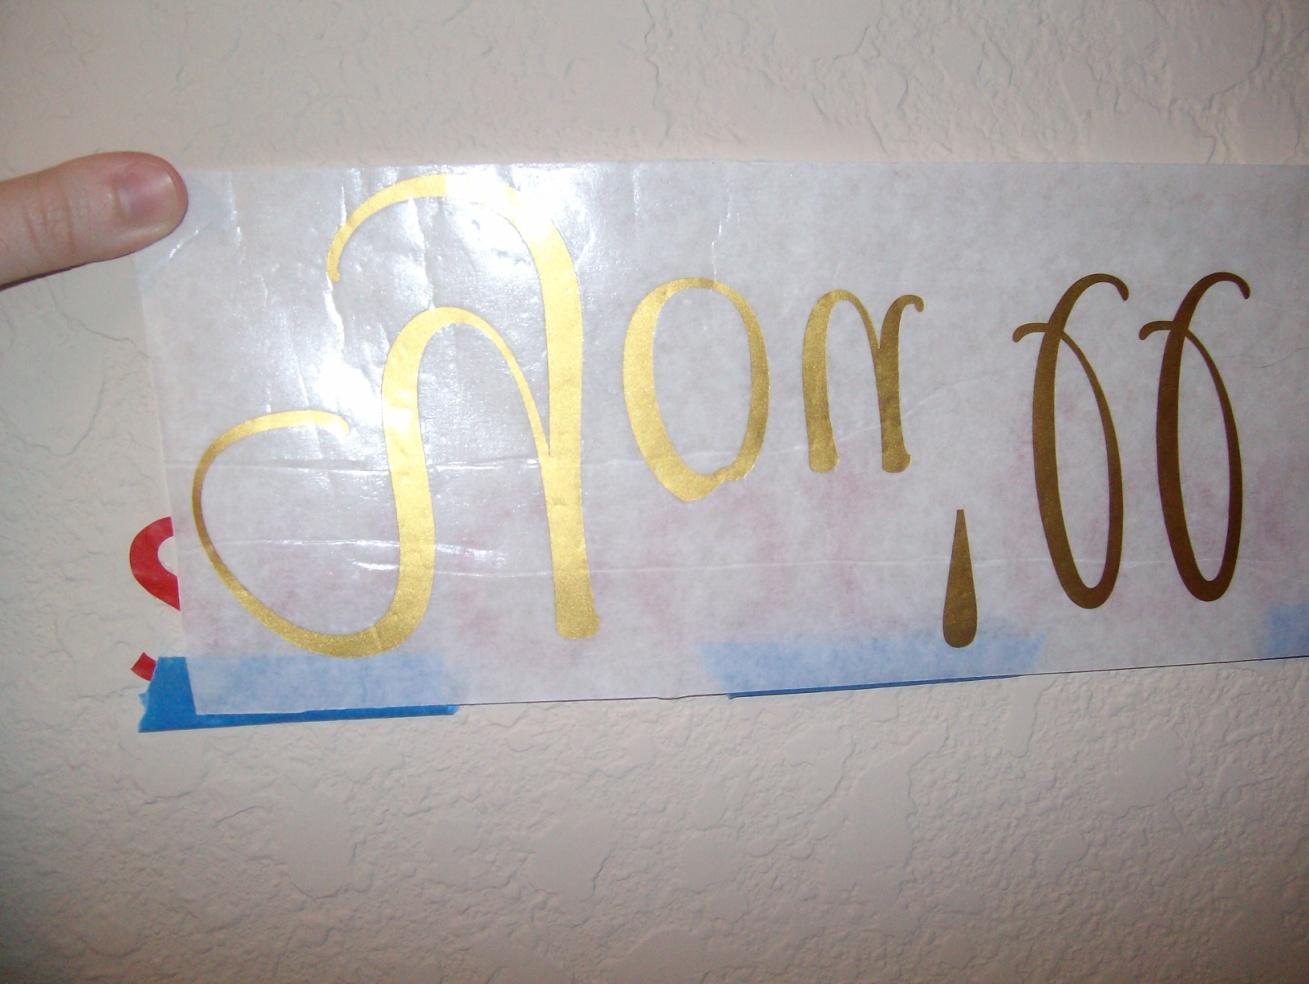
4. Place the vinyl
Slowly place the vinyl in its final resting place on the wall. Once you’ve started applying the lettering or decal to the wall, try to avoid peeling it up and moving it, as this can weaken and remove the adhesive.
5. Rub the vinyl again
Rub the decal a second time. (The transfer tape is still on top of the wording.) This will help make sure it doesn’t stick to the transfer paper when you remove it.
6. Remove the transfer paper
Carefully (and slowly) peel away the transfer paper from the back of your decal. If a letter sticks to the transfer paper, put the transfer paper back over it and rub it a few more times.
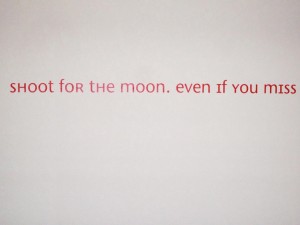
This is the last, and sometimes the longest, step in applying a vinyl wall decal.

When you’ve finished applying and then admiring your decal, it will stick just fine right away. However, you should avoid heating it or rubbing against it for a few days.

Final Tips
Depending on the surface of your wall, you may have some extra difficulty applying a vinyl decal. If it won’t stick, here are some tips to help your decal stick. Textured walls can cause some extra difficulty, as can dirty surfaces like cars and rough surfaces like wood or canvas.
When applying a larger decal, it’s also important to pick one place to start rubbing the decal to avoid any sort of bubbling. For applying a vinyl decal to your wall, you do NOT need to use a sealer- in fact, it can actually get under the decal and keep it from sticking.