Posted on

Welcome Summer with a DIY Rustic Porch Sign

DIY Rustic Summer Porch Sign

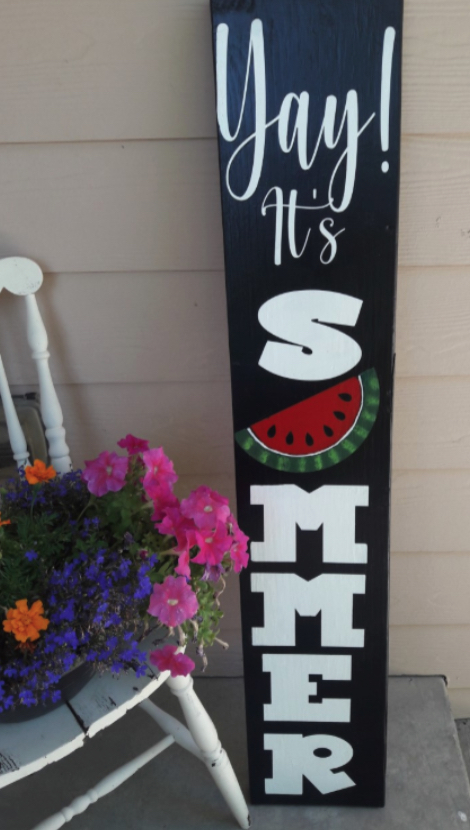
After all that’s been going on, summer’s finally in full swing! Add some charm and a rustic, farmhouse feel to your home’s entryway with a DIY porch sign to welcome summer. Porch signs are a great way to decorate your front steps without burning a hole in your wallet.

How to Make a Porch Sign

1. Choose your wood

The best types of wood to make a porch sign are MDF (Medium-density fibreboard) pine, or birch. There isn’t much of a difference between them, so it’s personal preference. A new piece of wood for a porch sign will typically cost about $10.

If you’re working with a smaller budget, you can go to the clearance bin at your local Lowe’s or Home Depot. At Home Depot, they put their “unsellable” wood on cart and spray paint it a certain color, and you can get it for dirt cheap.

As an alternative, using reclaimed wood will give your porch sign more of a rustic appearance. Old wooden window shutters make a great base if you can find one the right size.

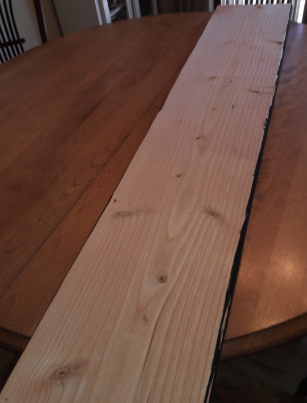
For this porch sign we used 1x8x8 piece of wood. Home Depot will also cut your wood down to the size you want. We had them cut this one in half lengthwise, so that we have 2 boards. This is also a heavier board that will stand up to gusts of wind.
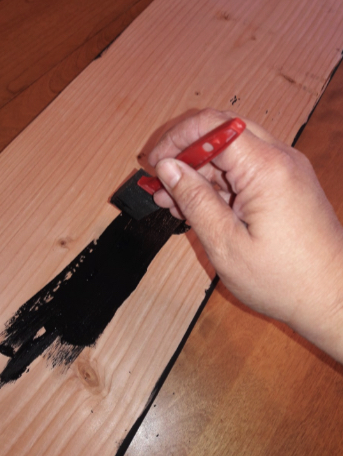
Porch sign wood

2. Paint the board

The base color of the sign can be any color you want, but we went with a black base color. In my experience, the best paint to use is chalk paint. It covers the wood in almost one coat, and stands up to the grooves of the board. If your wood is extra rough or old/splintery, you will want to sand the board before painting it. As for brushes, I used both a foam sponge brush and regular paint brushes.

Painting the Wood for the Sign Black

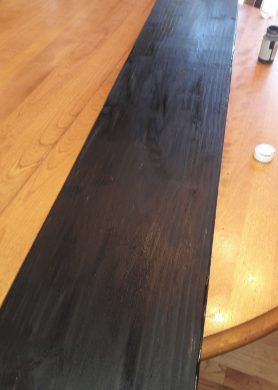
Here is what the board looks like fully painted with the black chalk paint:

Board Painted Black

3. Use a vinyl stencil

You can purchase the “Yay It’s Summer” vinyl stencil here for $19.99.

If you want to make your own, the easiest way to make a stencil is to order a vinyl decal. Make sure that you order it in a different color than your sign’s base layer, or it will be hard to see the stencil.

Instead of using the vinyl lettering itself on the board, pull the letters out instead of all the excess vinyl around everything. Basically, this creates a reverse decal that you can use as a stencil. We will be painting inside of the letters and watermelon to create our final look on the sign. Wherever you see the white, that’s where to put paint.
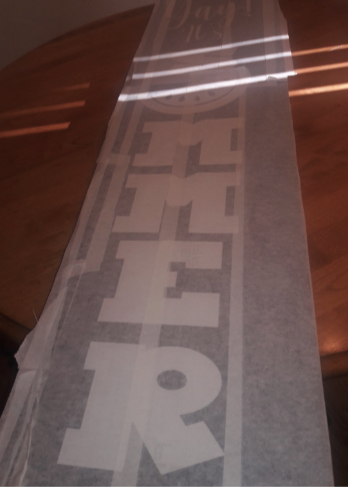
Reversed vinyl laid on board

Making the stencil

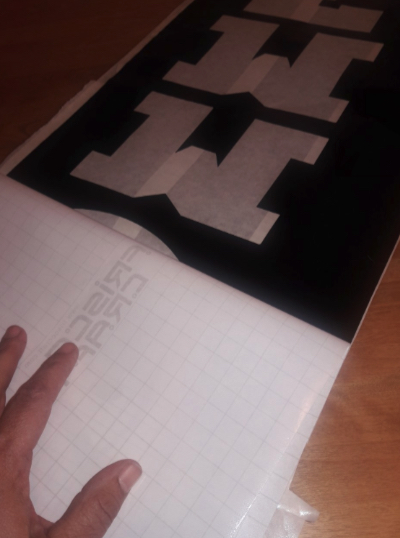
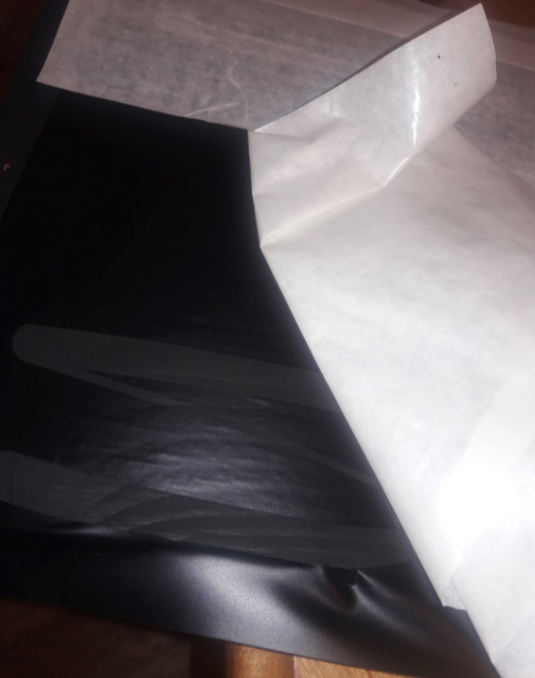
First step is to remove the backing paper from the vinyl decal to get to the stencil.

Peel the backing from the vinyl decal

When you’ve done that, it should look like the stencil below:

Finished Vinyl Stencil

Applying the stencil

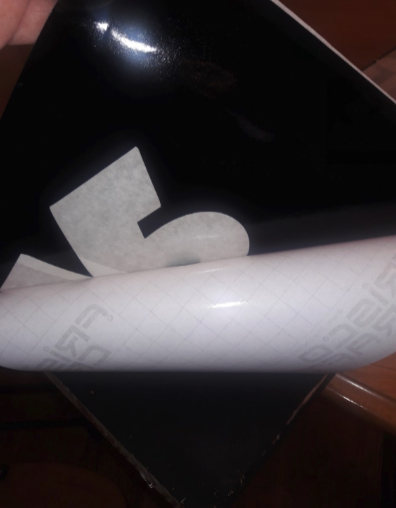
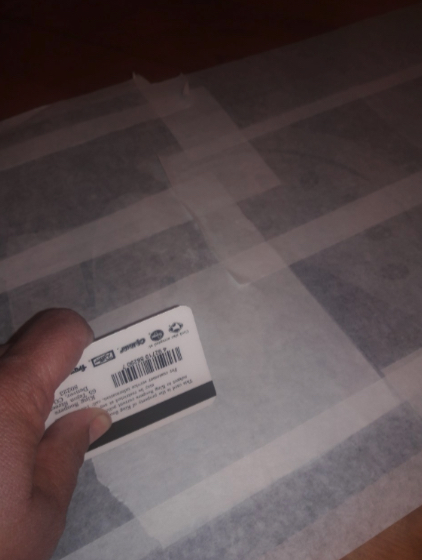
The next step is to place the vinyl on the board, and rub the vinyl on the top layer. We are using our trusty grocery store card to help us out with this job! Using a small, flat object like a credit card or a grocery store card to rub the vinyl helps smooth it out and prevent air bubbles.

Rubbing the vinyl with a credit card

Now you will remove the cloudy layer on top of the stencil called the transfer tape. When the transfer tape is removed, the vinyl stencil will be left.

We made a mistake when we chose black for the vinyl stencil. Black vinyl on a black board made it hard to see if we placed everything correctly. Use opposite colors of vinyl from your painted board.

Removing the transfer tape

Painting the stencil

Next, paint in the stencil with another color. The gray area is where we painted. The black stencil is very hard to see, so I would recommend using a white stencil.

Painted Stencil

Now we are going to paint over the stencil with the same black paint. This will seal any places that might not be sealed with the vinyl. That way when you use the white paint, it won’t bleed through the stencil onto the sign.

Repainting the stencil

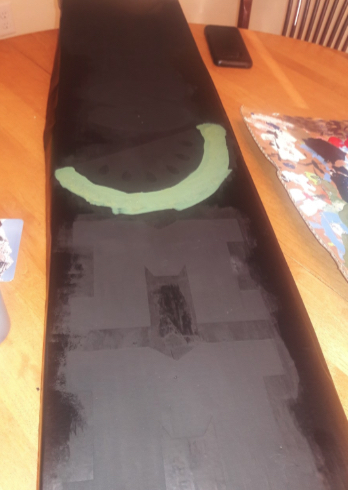
Here is the board fully painted. You can see that we started painting the watermelon rind green (don’t worry about it if you used a different color to start the rind- you won’t be able to see it).

4. Final coat

Let the previous coats fully dry on the porch sign before starting with the other colors. I used white for the letters, and red and two shades of green for the watermelon. You don’t need to completely cover the board with paint, just around the letters and the watermelon.

Finished sign before removing the stencil

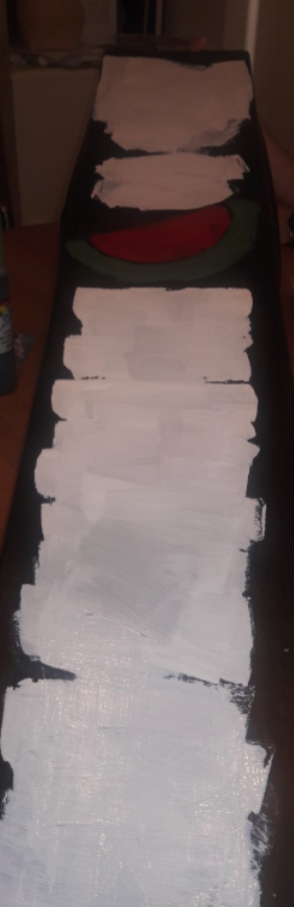
Once again you will need to let this layer of paint dry. I used “Apple Barrel” white paint, and it did not cover as well as the chalk paint with the vinyl stencil, so I needed 3 coats of paint for this part of the project. You will know when the paint is completely dry because the wet areas will not be cool to the touch.

5. Remove the stencil

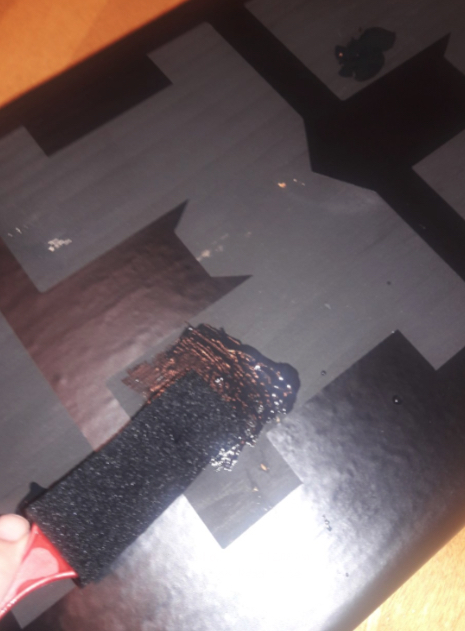
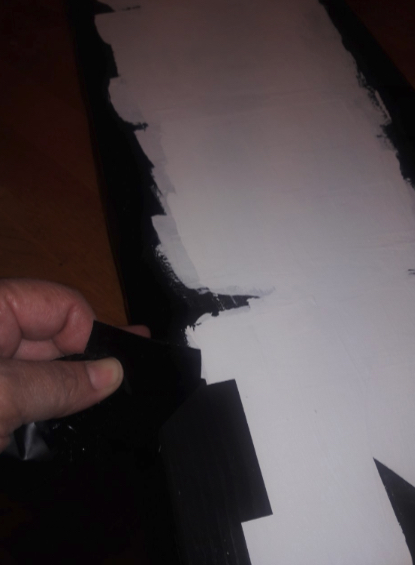
Now that the paint is dry, you can start to remove the vinyl. You don’t have to be too careful pulling the vinyl off the porch sign, because the paint is dry.

It is hard to see the black vinyl being removed from the black board, but you can see the crisp edge of paint along the letter ‘M’ here:

Peeling back the stencil

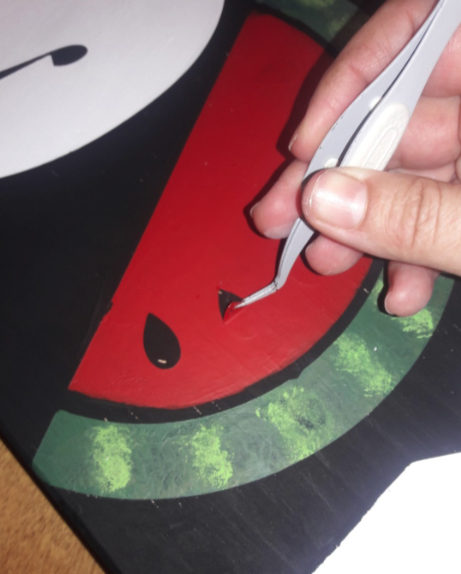
To get the centers out of the letters and the seeds out of the watermelon, I used reversible tweezers and poked the vinyl, and then pulled them out.

Using tweezers to peel off the smaller parts of the stencil

6. Seal the board

If you are planning on putting your sign outside, I would recommend using a sealer to help protect the board from warping and the paint peeling off. The hot temperature of the sun can cause the paint to expand and then contract when the sun goes down. This can cause the board to become mis-shaped, and the paint to peel and crack.

Matte Mod Podge

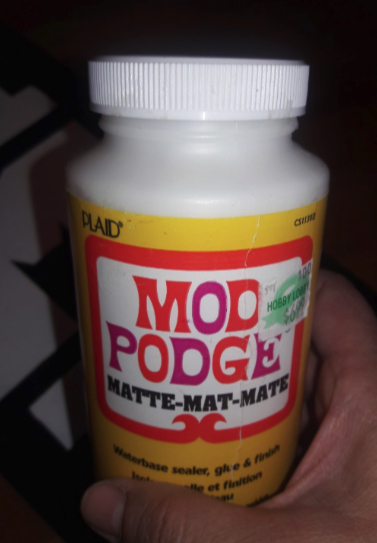
A sealer should help to prevent this, and also keep the paint bright and the board straight. I used a matte finish Mod Podge for the sealer. It worked just fine with the white paint, though I wasn’t sure how it would turn out.

Sealing the Porch Sign

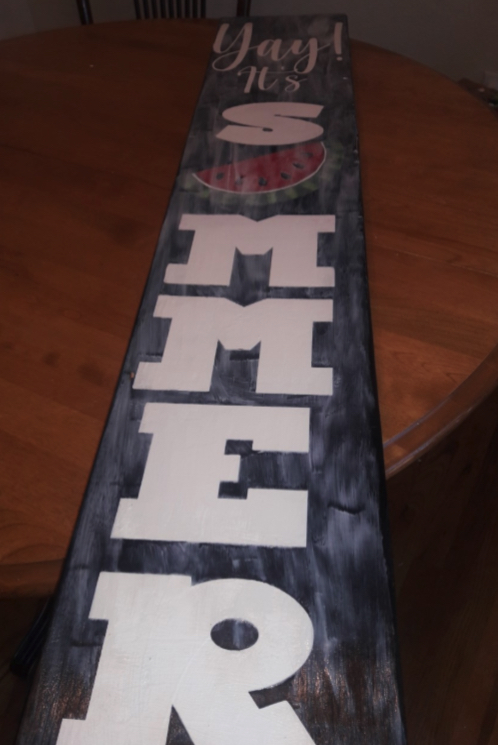
Look how it turned out! Crisp lines, no glaze from a shiny sealer. Your sign will definitely be the envy of the neighborhood this summer!

DIY Rustic Summer Porch Sign
Posted on

Laundry Room Sign Board using Vinyl Lettering

You might have seen the awesome laundry room sign board made over at How Does She. Well, you can do it now too, because we have the vinyl lettering art cut and ready for you to peel and stick.

You get: “THE LAUNDRY ROOM”, “Loads of fun” and the ornament. These can be used to make the sign board below in this tutorial at HowDoesShe.com.

Price: $10.99

Dimensions: 6.5 inches tall x 11 inches wide.

***FREE US Shipping on items over $20***

Color: Black (or choose another from the swatches pictured)

Optional-Color (if not black):

Optional Colors

Optional colors for vinyl wall art and vinyl lettering and vinyl wall quotes
Optional colors for vinyl wall art and vinyl lettering

[hr]
Or design your own vinyl wall quotes, view a gallery of others customers’ vinyl art designs, or view the list of vinyl quote ideas.

Posted on

Growth Charts Using Vinyl Wall Art Stickers

We’re excited to offer growth charts in combination with the tutorial over at HowDoesShe.com on making a wood growth chart.

We have two designs of our own that are vinyl art that’s ready-made to just peel and stick (on a wall, door, window, wood, etc).

And we’re offering *just* the vinyl letters and numbers if you want to follow the tutorial for making the growth chart on wood boards.

Click on the images below to see them bigger. More info and the “add to cart” purchase buttons are below these pictures.

Purchase vinyl letters and numbers for the HowDoesShe project

vinyl letters for growth chart wall words
Vinyl letters and numbers for kids growth chart

HowDoesShe.com craft project with wood board growth chart with  vinyl lettering art
HowDoesShe.com craft project–growth chart on wood with vinyl letters

You’ll get: Vinyl letters and numbers for the growth chart on wood for the tutorial on HowDoesShe.

Note: Your order will look like the letters and numbers to the right, which is a slightly different font than the picture in the tutorial.

Price: $7.50
Color: Black (or choose another from the swatches pictured)

***FREE US Shipping on items over $20***

You Get:

  • 4×4 square ‘Watch Me Grow’
  • Numbers 2,3,4,5,6 in 2-inch vinyl

Optional-Color (if not black):

Animal theme growth chart, ready-made vinyl art

Kids growth chart with animals made with sticky wall vinyl art
Kids growth chart with animals made out of sticky wall vinyl

Precut vinyl wall art. Just peel and stick.

Cost: $16.99
Color: Black (or choose another from the swatches pictured)

You get:

  • 36 inches tall x 12 inches wide
  • Precut vinyl on transfer tape, ready to apply

Optional-Color (if not black):

Space theme growth chart, ready-made vinyl art

Space themed kids growth chart out of sticky wall vinyl art
Space themed kids growth chart made of sticky wall vinyl art

Precut vinyl wall art. Just peel and stick.

Cost: $16.99

You get:
Color: Black (or choose another from the swatches pictured)

  • 36 inches tall x 12 inches wide
  • Precut vinyl on transfer tape, ready to apply

Color

Or design your own vinyl wall quotes, view a gallery of others customers’ vinyl art designs, or view the list of vinyl quote ideas.

Posted on 2 Comments

How to Buy Vinyl Lettering and Art for 4th of July Craft Project

We’re so excited to announce our new partnership with the fabulous HowDoesShe?com Blog. They have an ongoing series of home decor ideas using 2x4s and some ingenuity to create cheap and fun and beautiful decor.

Check out their 4th of July 2×4 idea. Isn’t it great?

4th of July vinyl wall quotes lettering idea
4th of July craft project using vinyl lettering and art

Click for the complete writeup complete with instructions and step-by-step pictures.

Order the Precut Vinyl Lettering and Art for this Project

If you want the vinyl “Happy 4th of July” in the same font and size as the HowDoesShe project pictured above, we’re excited to provide it for you. The star is also included.

The vinyl lettering and art will arrive precut on backing transfer tape, so you can just peel and stick it. No need for a cutter or any other supplies.

“Happy 4th of July” vinyl lettering and accompanying star

Price: $10.50 USD
Color: Black (as pictured)
Size: 1 1/2 inches (as pictured)
Includes vinyl lettering and star

Don’t Want Black? Type the Color You’d Like From the List Pictured Below:

Vinyl colors for precut vinyl wall quotes
Vinyl Colors Available-Click to Enlarge

Posted on

2012 Graduation Designs-Sticky Vinyl Wall Art Lettering

Looking for a great way to surprise and honor your graduate?  Set your party apart from the hundreds going on around your neighborhood?
Why not show off with personalized vinyl wall quotes?  We have a great new vinyl wall art design that you can add an inspirational quote to, a sentimental thought, or add the graduate’s name to.  Vinyl wall quotes are so easy to apply, and when the parties done, they are removable!


So wow your guests and relatives, show how proud you are of your graduate and display customized vinyl wall quotes on your wall, mirror, or car.
Graduation vinyl wall art will shine right next to your graduate and show how proud your are of their great accomplishment!

Posted on

Giveaway coming up soon–free vinyl lettering

[box]Giveaway Ended-Sign up for our newsletter or catch us on Facebook![/box]

Just wanted to let you know that we’re planning some great things to kick off the Halloween/Holiday seasons. We’ve got a giveaway and a Facebook page in the works, as well as examples of some fun projects that’ll be posted here on the blog.

Here’s just one project we’ve been working on: Glass blocks that can be lit from behind. Put your custom lettering on one, add a background light, and look like a genius!

Follow Vinyl Wall Expressions on Twitter to stay up to date.

Glass block craft with vinyl lettering art

Glass block with vinyl lettering art craft-trick or treat
Glass block with vinyl lettering art craft: trick or treat