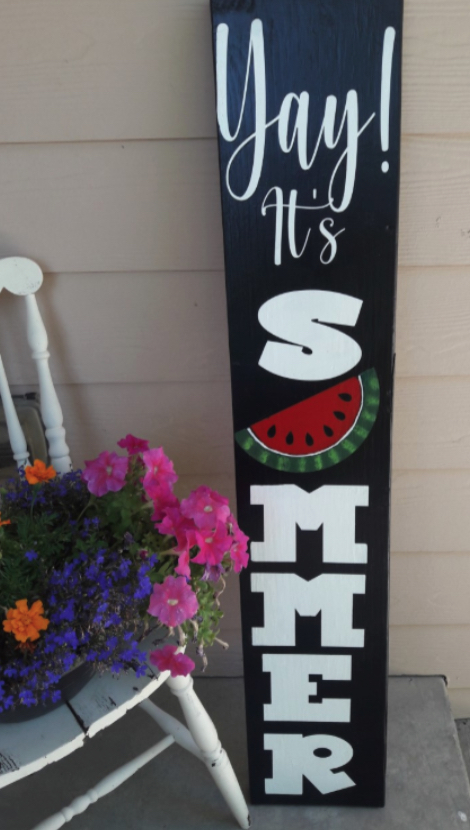
After all that’s been going on, summer’s finally in full swing! Add some charm and a rustic, farmhouse feel to your home’s entryway with a DIY porch sign to welcome summer. Porch signs are a great way to decorate your front steps without burning a hole in your wallet.
How to Make a Porch Sign
1. Choose your wood
The best types of wood to make a porch sign are MDF (Medium-density fibreboard) pine, or birch. There isn’t much of a difference between them, so it’s personal preference. A new piece of wood for a porch sign will typically cost about $10.
If you’re working with a smaller budget, you can go to the clearance bin at your local Lowe’s or Home Depot. At Home Depot, they put their “unsellable” wood on cart and spray paint it a certain color, and you can get it for dirt cheap.
As an alternative, using reclaimed wood will give your porch sign more of a rustic appearance. Old wooden window shutters make a great base if you can find one the right size.
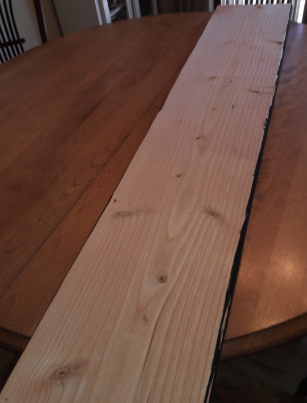
For this porch sign we used 1x8x8 piece of wood. Home Depot will also cut your wood down to the size you want. We had them cut this one in half lengthwise, so that we have 2 boards. This is also a heavier board that will stand up to gusts of wind.
2. Paint the board
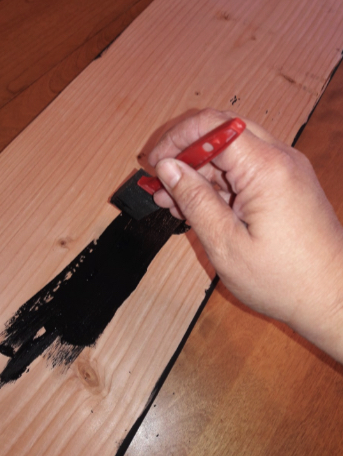
The base color of the sign can be any color you want, but we went with a black base color. In my experience, the best paint to use is chalk paint. It covers the wood in almost one coat, and stands up to the grooves of the board. If your wood is extra rough or old/splintery, you will want to sand the board before painting it. As for brushes, I used both a foam sponge brush and regular paint brushes.
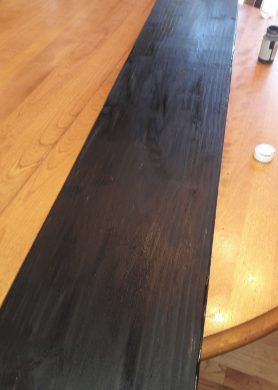
Here is what the board looks like fully painted with the black chalk paint:
3. Use a vinyl stencil
You can purchase the “Yay It’s Summer” vinyl stencil here for $19.99.
If you want to make your own, the easiest way to make a stencil is to order a vinyl decal. Make sure that you order it in a different color than your sign’s base layer, or it will be hard to see the stencil.
Instead of using the vinyl lettering itself on the board, pull the letters out instead of all the excess vinyl around everything. Basically, this creates a reverse decal that you can use as a stencil. We will be painting inside of the letters and watermelon to create our final look on the sign. Wherever you see the white, that’s where to put paint.
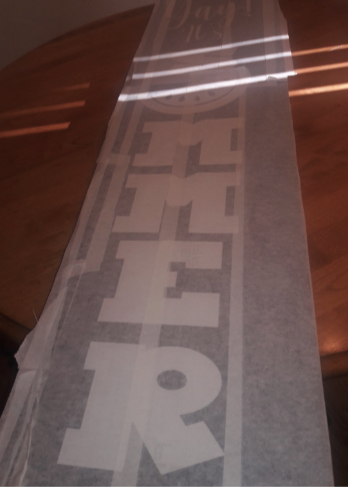
Making the stencil
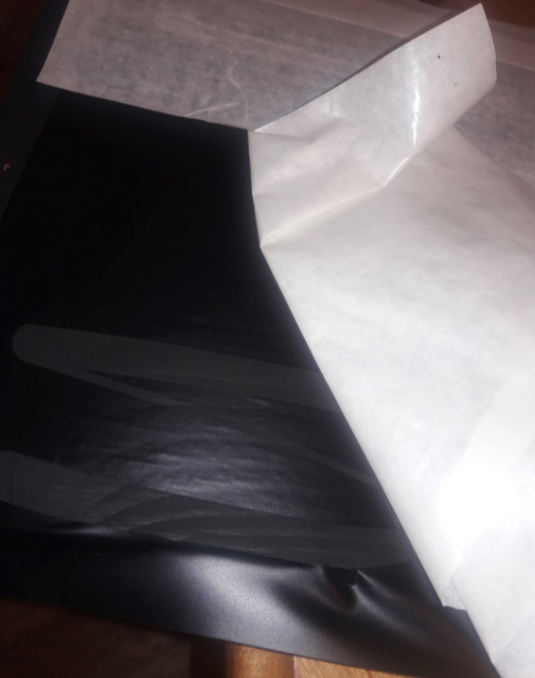
First step is to remove the backing paper from the vinyl decal to get to the stencil.
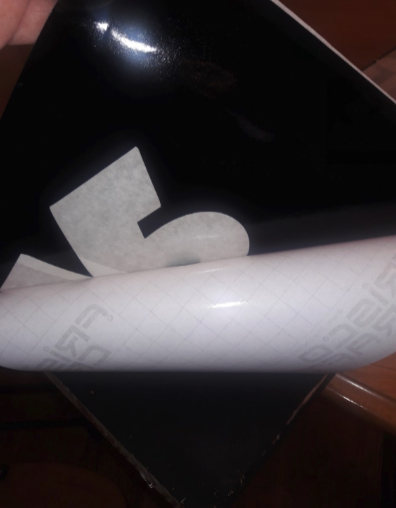
When you’ve done that, it should look like the stencil below:
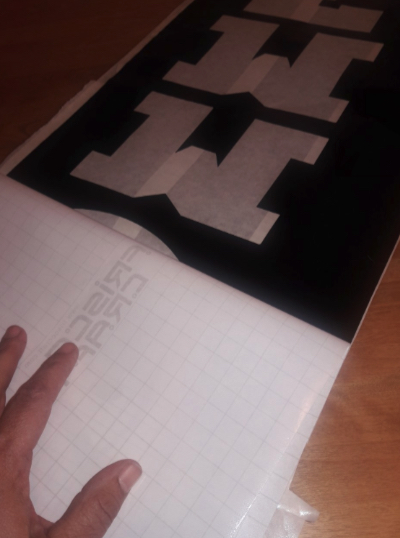
Applying the stencil
The next step is to place the vinyl on the board, and rub the vinyl on the top layer. We are using our trusty grocery store card to help us out with this job! Using a small, flat object like a credit card or a grocery store card to rub the vinyl helps smooth it out and prevent air bubbles.
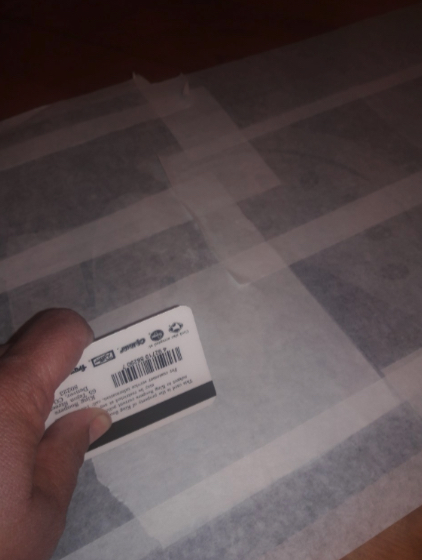
Now you will remove the cloudy layer on top of the stencil called the transfer tape. When the transfer tape is removed, the vinyl stencil will be left.
We made a mistake when we chose black for the vinyl stencil. Black vinyl on a black board made it hard to see if we placed everything correctly. Use opposite colors of vinyl from your painted board.
Painting the stencil
Next, paint in the stencil with another color. The gray area is where we painted. The black stencil is very hard to see, so I would recommend using a white stencil.
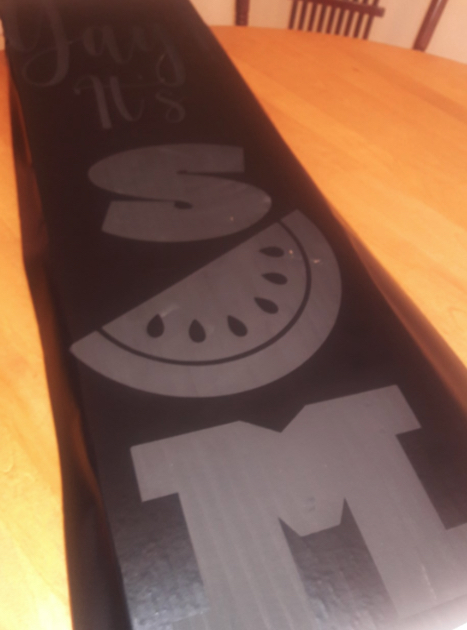
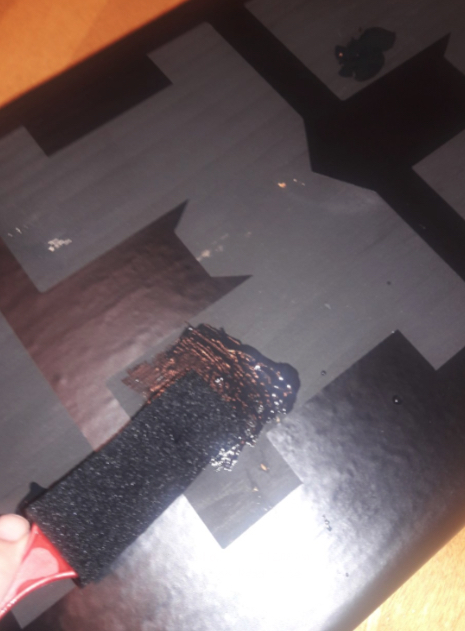
Now we are going to paint over the stencil with the same black paint. This will seal any places that might not be sealed with the vinyl. That way when you use the white paint, it won’t bleed through the stencil onto the sign.
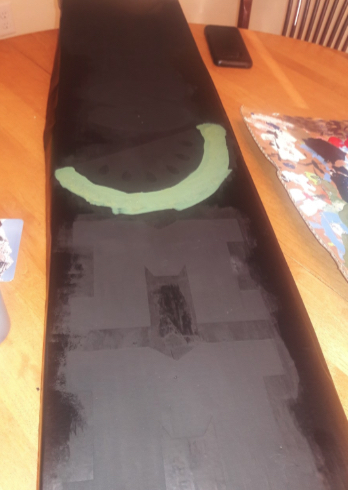
Here is the board fully painted. You can see that we started painting the watermelon rind green (don’t worry about it if you used a different color to start the rind- you won’t be able to see it).
4. Final coat
Let the previous coats fully dry on the porch sign before starting with the other colors. I used white for the letters, and red and two shades of green for the watermelon. You don’t need to completely cover the board with paint, just around the letters and the watermelon.

Once again you will need to let this layer of paint dry. I used “Apple Barrel” white paint, and it did not cover as well as the chalk paint with the vinyl stencil, so I needed 3 coats of paint for this part of the project. You will know when the paint is completely dry because the wet areas will not be cool to the touch.
5. Remove the stencil
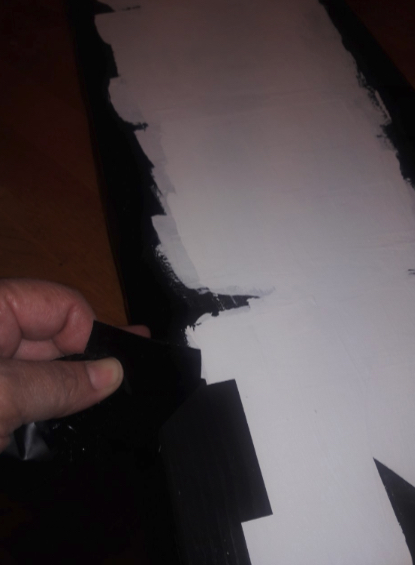
Now that the paint is dry, you can start to remove the vinyl. You don’t have to be too careful pulling the vinyl off the porch sign, because the paint is dry.
It is hard to see the black vinyl being removed from the black board, but you can see the crisp edge of paint along the letter ‘M’ here:
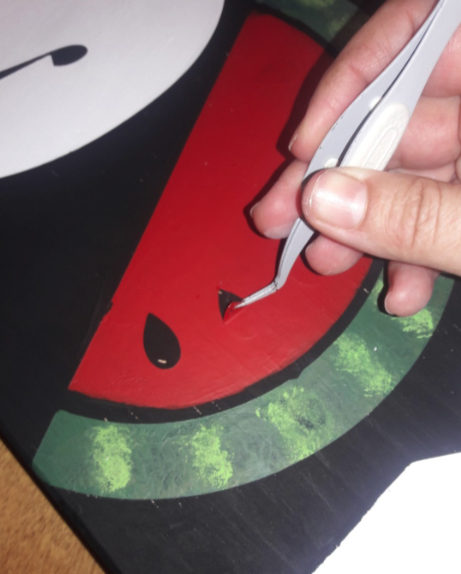
To get the centers out of the letters and the seeds out of the watermelon, I used reversible tweezers and poked the vinyl, and then pulled them out.
6. Seal the board
If you are planning on putting your sign outside, I would recommend using a sealer to help protect the board from warping and the paint peeling off. The hot temperature of the sun can cause the paint to expand and then contract when the sun goes down. This can cause the board to become mis-shaped, and the paint to peel and crack.
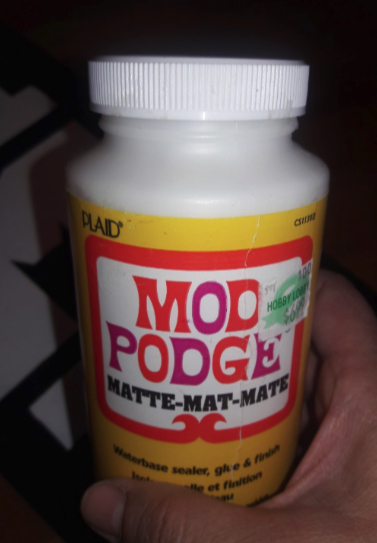
A sealer should help to prevent this, and also keep the paint bright and the board straight. I used a matte finish Mod Podge for the sealer. It worked just fine with the white paint, though I wasn’t sure how it would turn out.
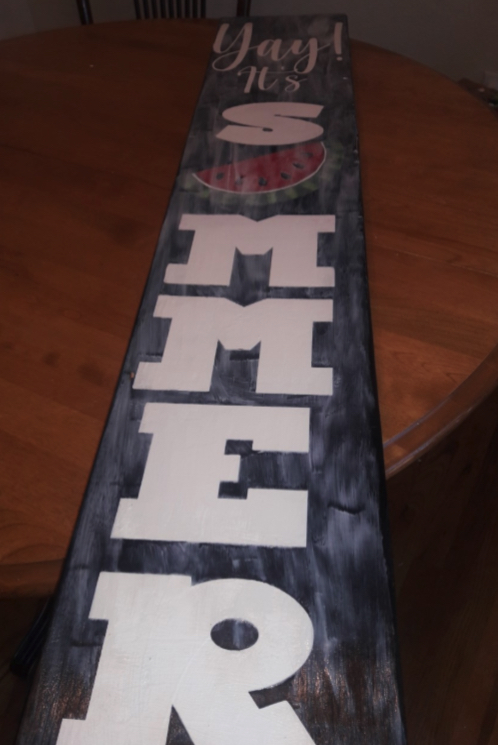
Look how it turned out! Crisp lines, no glaze from a shiny sealer. Your sign will definitely be the envy of the neighborhood this summer!

