Posted on

How to Get Vinyl to Stick to Canvas

How to Get Vinyl to Stick to Canvas

While vinyl is usually very easy to apply on most surfaces, canvas can be a difficult one. Vinyl decals adhere better to smooth surfaces, and canvas is rough enough that it can create air pockets and overall be quite hard to get vinyl to stick to.

Vinyl can stick to canvas, as long as you take your time to prepare and apply it properly. Before we get started, make sure that you are using high quality, commercial grade vinyl. Using thick, sticky vinyl will not only make applying it easier, it will help your crafts and signs to last longer.

Our glossy vinyl or Oracal 651 are the best choices for crafts with canvas, as they have more adhesive than regular or matte vinyl types.

Prepping Your Canvas for Vinyl

Vinyl decals can adhere much better if you make the surface of the canvas smooth. One popular and easy way to prepare your canvas is by painting it. This fits right in with many crafts, and is inexpensive. If you’re not changing the background color at all, using a spray adhesive or mod podge is probably your best bet. When using a spray adhesive, make sure to let it dry before applying your vinyl.

Applying Vinyl to Canvas

Applying vinyl to canvas is similar to applying vinyl to a wall or other surface, but requires a few extra steps after you’ve prepared it as described above.

  1. Set the canvas on a firm surface

    Place the canvas on a hard, flat surface so that you can rub the vinyl on later. The best method for this is putting the canvas on top of a hardback book. Choose a book that will fit inside the frame around your canvas so that the canvas lies directly on top of it.

  2. Place the vinyl on top of the canvas

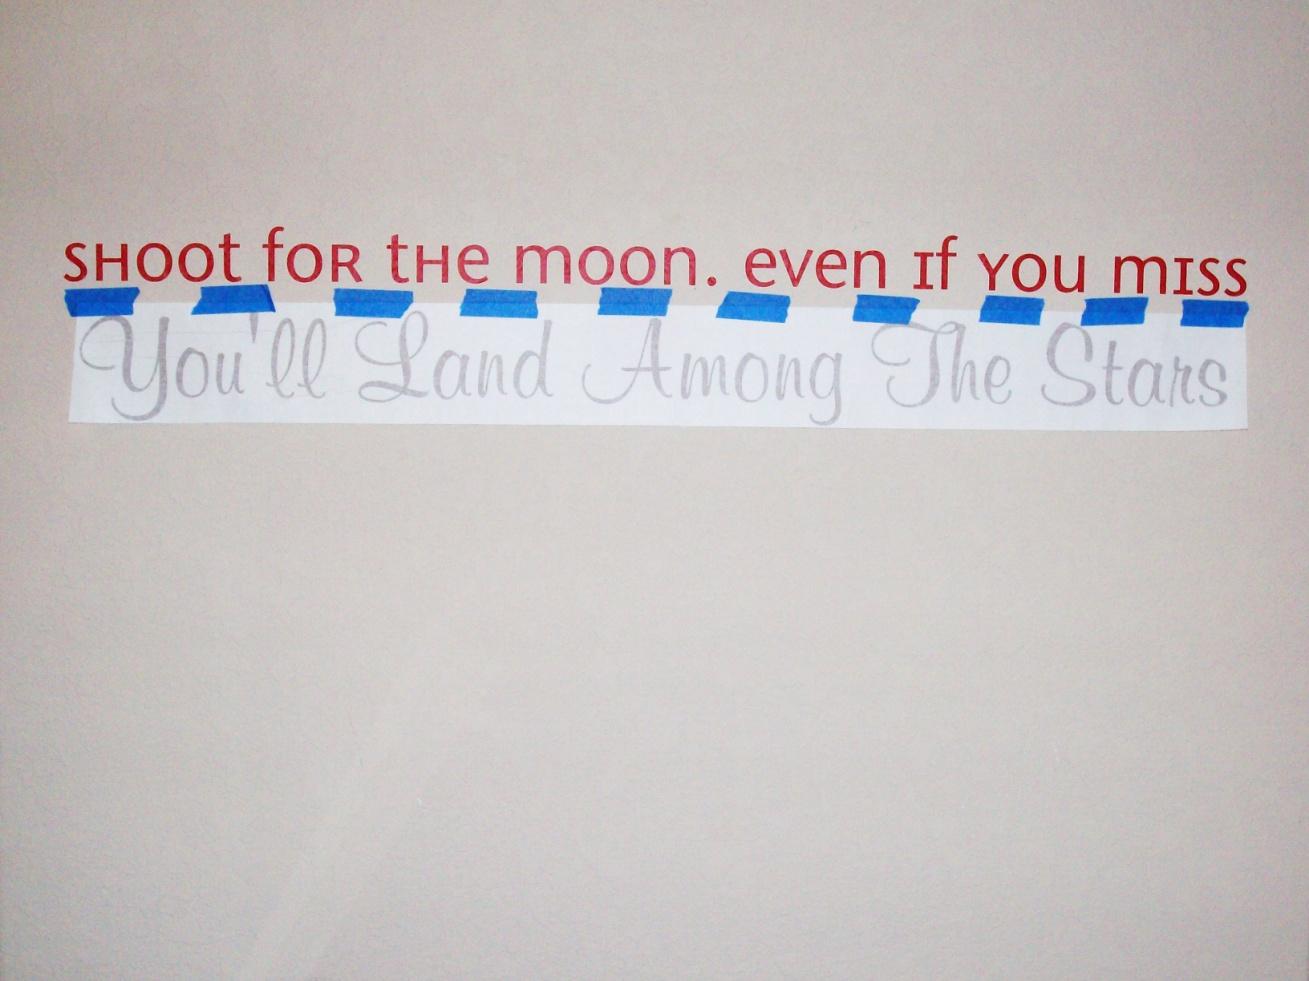
    Gently set the vinyl in its desired location on top of the prepared canvas. Make sure that it is in the final position that you want.
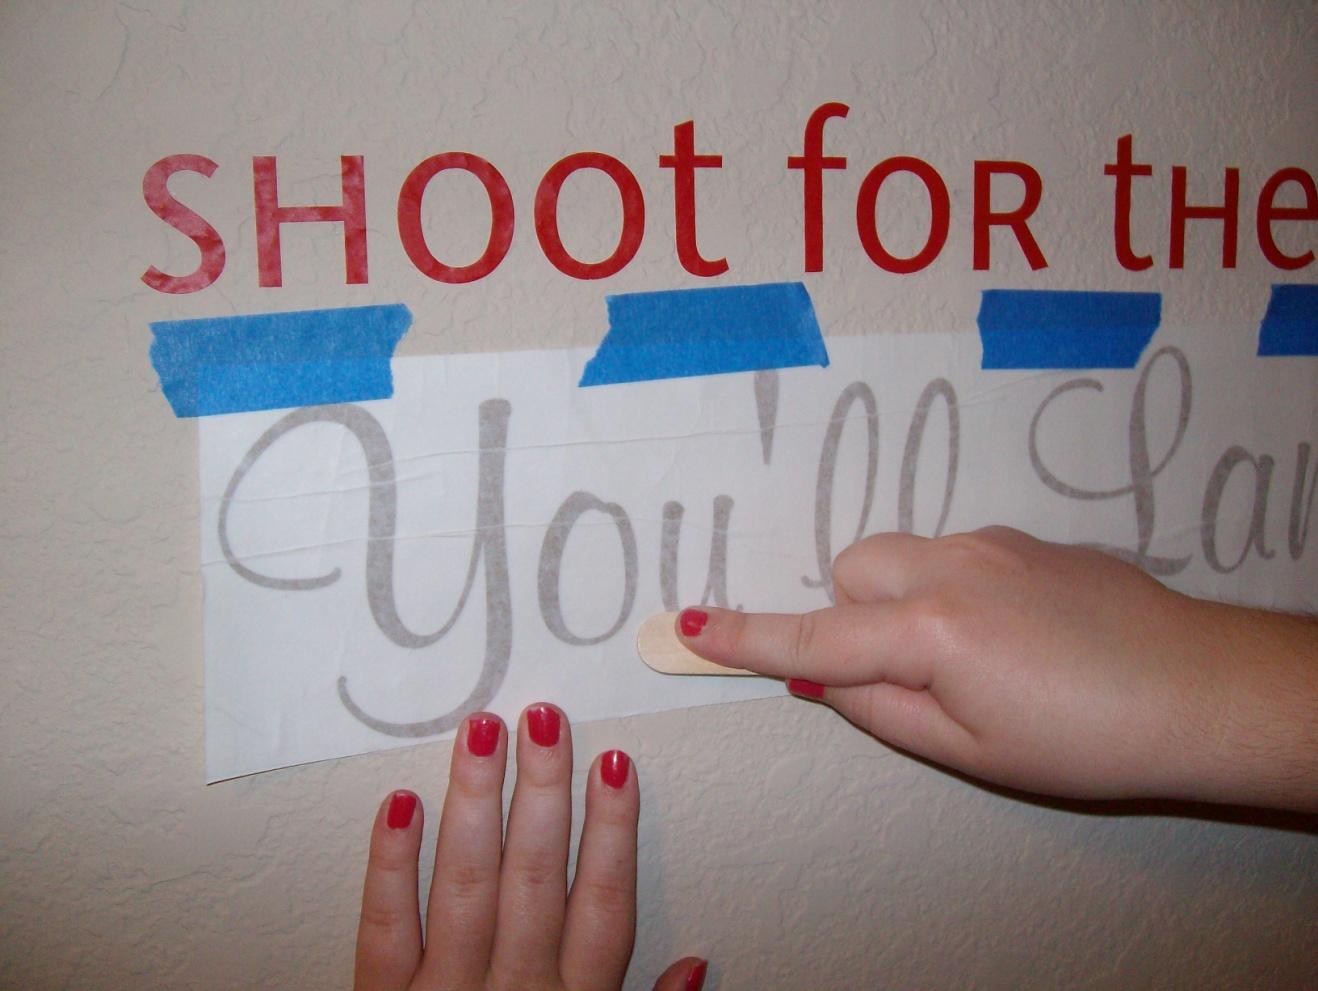
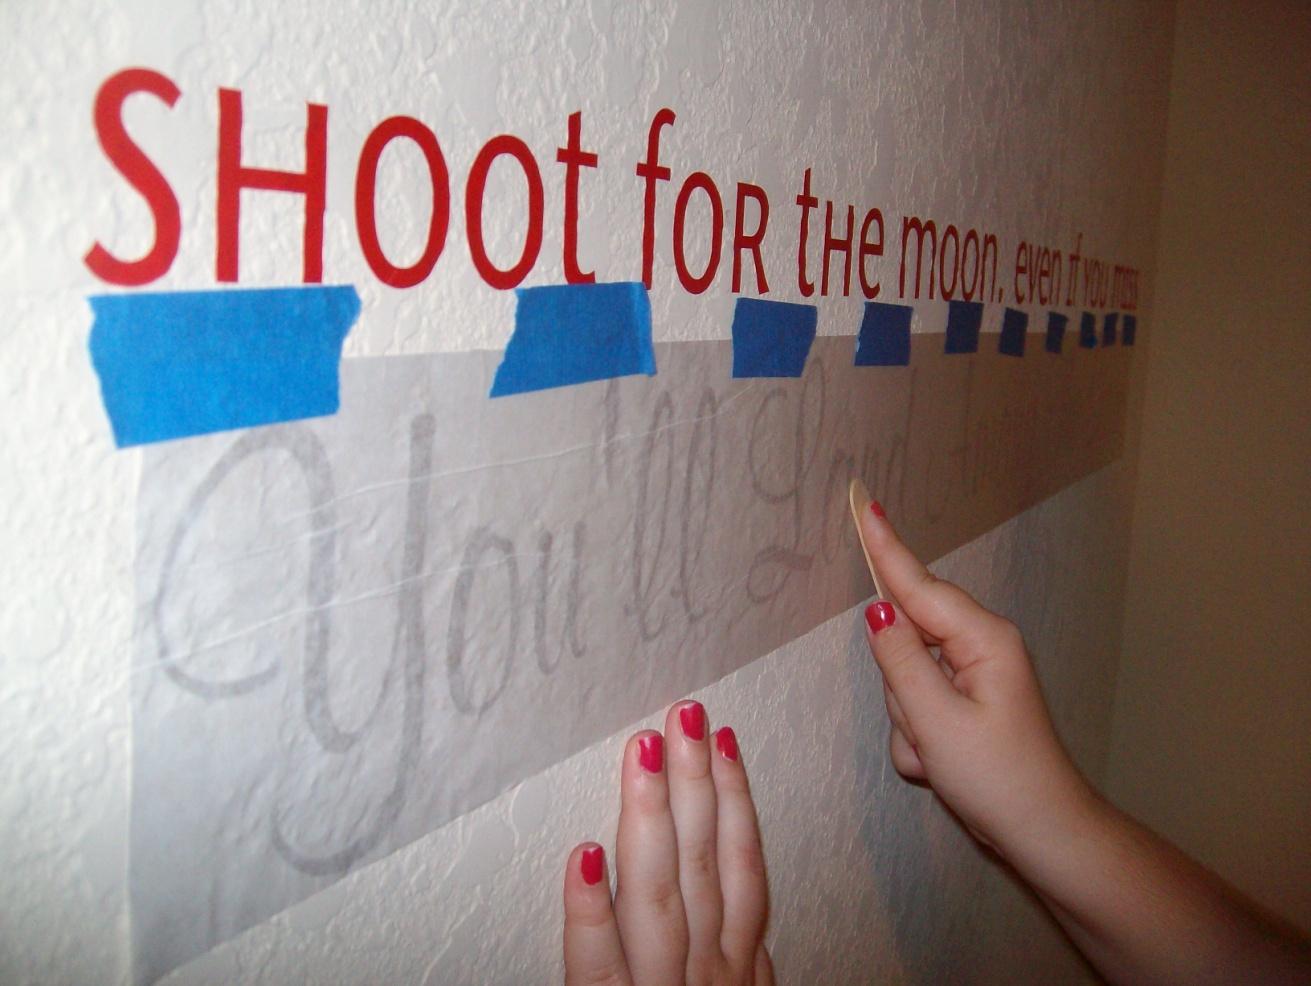
  3. Rub on the vinyl

    Starting in the middle, smooth the vinyl outward. Next, use a tennis ball or an old credit card to rub the back of the decal. The longer and more firmly you rub, the easier the vinyl will come off the transfer paper and stick to the canvas. Rubbing the decal helps the vinyl stick into any remaining crevices.

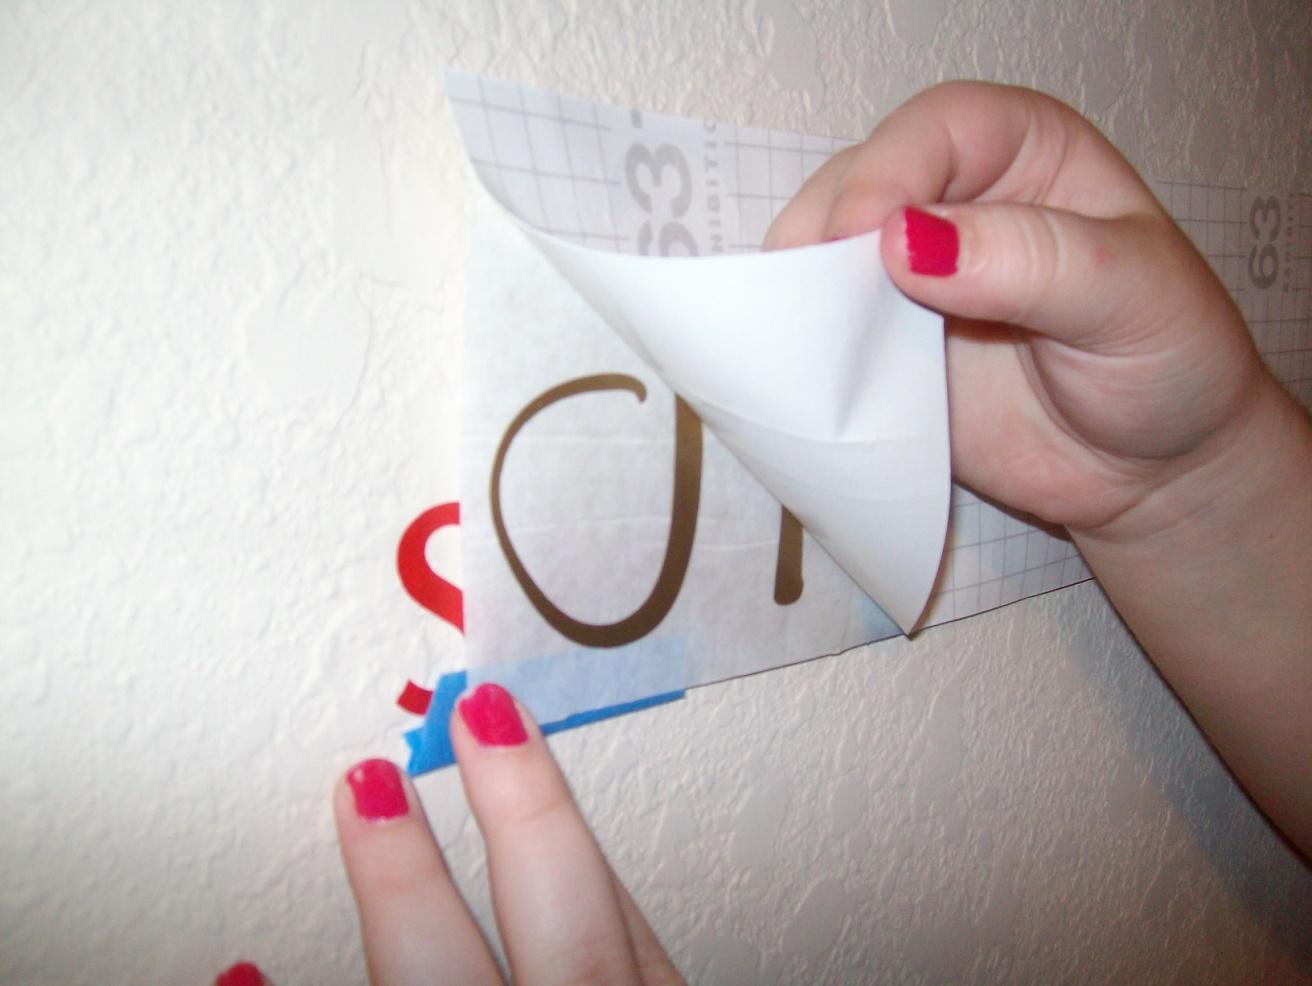
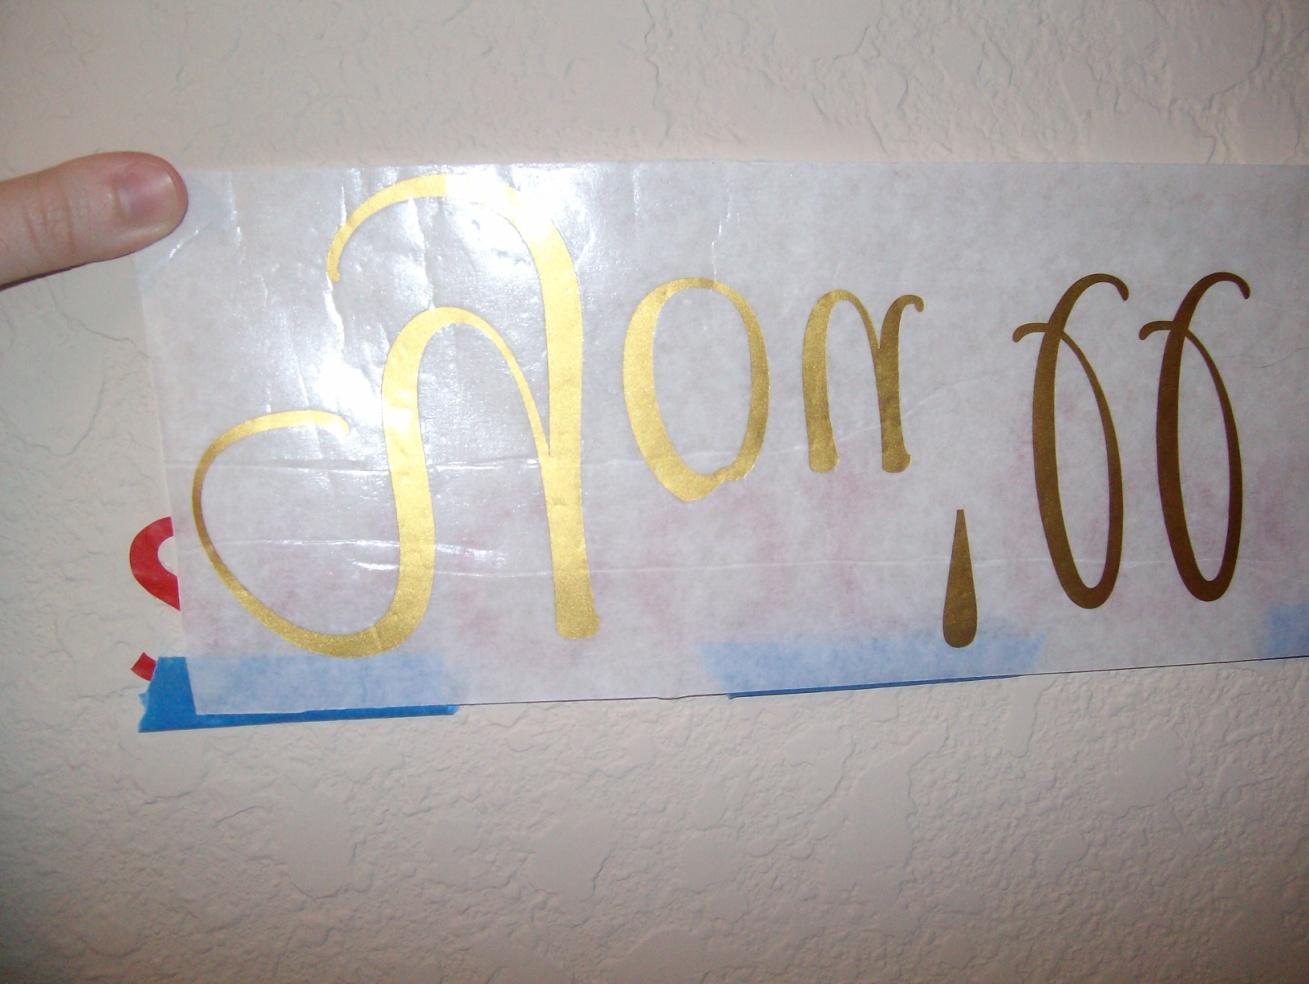
  4. Peel back the transfer paper

    Carefully peel back the transfer paper. If any sections of vinyl or letters stick to the paper or don’t stay on the canvas, place the transfer paper back on top of them and rub some more. You can also carefully heat the vinyl using a hair dryer on low power.

Related: How to Get Wall Decals to Stick

Do I need to seal vinyl on canvas?

You do not need to seal vinyl on canvas. Actually, it can keep the vinyl from adhering properly to the canvas, so it is better not to seal it. Sealing vinyl on canvas can cause air bubbles or even cause the decal to deform.

In addition, the vinyl does not need a sealant to stay on the canvas. When properly applied, good vinyl will stick perfectly fine long term to canvas without a sealing agent.

How to remove vinyl from canvas

Removing vinyl from canvas is a delicate process. Depending on the craft that you are removing it from, some of the conventional tips may not work or be practical.

Unless your craft is heat sensitive or could dry out/crack if heated, use a hair dryer (on low power) to make the adhesive more pliable. Gently peel it up using tweezers or your fingernails. This shouldn’t be too difficult, especially with the difficulties of getting vinyl to stick to canvas in the first place.

Related: How to Remove Wall Decals Without Damaging Paint

If you need inspiration or have any further questions about getting your vinyl to stick to canvas, check out our FAQ or reach out on our Facebook page! We would love to help you with your projects. Feel free to also share your crafts on our Facebook page or tag us in your post. Happy crafting!

Posted on

How to Get Wall Decals to Stick

How to Get Wall Decals to STick

One of the most frustrating feelings is when your wall decal finally arrives or it’s been three weeks since you painted your wall and you try to apply your decal, but it falls off. You followed the instructions that came with your vinyl, used the backing paper, and after all that hassle, it won’t even stick to the wall!

Vinyl wall decals can be notoriously finicky. There are a variety of reasons why a decal might not stick- some having to do with the decal, some having to do with the wall. To figure out how to get your wall decal to stick, you first need to diagnose why it isn’t staying on the wall.

Why Wall Decals Sometimes Don’t Stick

A lot of different factors can impact how well a vinyl decal adheres to the wall. Some of the most common ones include:

Dirty Walls: If your walls aren’t totally clean, the wall decal will stick to the dirt and grime, not the wall.

New Paint: If you painted your wall recently, the paint emits gases up to 2 weeks after it dries. These gases can cause the adhesive to fail.

Cold Walls/Vinyl: When the walls or the decal are too cold, the vinyl won’t stick properly to the wall.

Unfinished Walls: Wall decals stick poorly to unfinished or unpainted walls (including brick walls). Old, peeling paint can also keep your decal from sticking. If your walls are unfinished or unpainted, take care of that before applying your decal.

Textured Walls: Some vinyl types don’t adhere to walls with any sort of texturing.

Too Dry: If you wait too long after receiving your wall decal before applying it, the adhesive will dry out, much like glue.

Sealants: Using sealants on your wall can actually prevent the decal from sticking. If a sealant gets under the vinyl wall decal, it can cause it to bubble and curl.

Cheap Vinyl: Lower quality vinyl often doesn’t have as much adhesive, which results in it falling off the wall or peeling.

How to Make Wall Decals Stick

Once you’ve figured out why your decal isn’t sticking right, you can find a solution by following the steps below:

  1. Clean the Wall

    Using some dish soap and water, gently scrub the wall. After you’ve removed all the built up dirt, completely dry the wall before moving on.

  2. Warm the Decal

    Carefully run a hair dryer on low power back and forth over both the wall and your decal. Continue heating specific sections of the as you apply it.

  3. Rub the Decal

    With a tennis ball or similar hard object, rub along the back on the decal on the wall. This presses the vinyl into the mountains and valleys on the wall (caused by texturing).

  4. Sand the Wall

    If your wall decal still has problems sticking to the wall texturing, you can use a paint scraper or sandpaper to smooth out the wall. This will flatten the surface and make it easier for vinyl to stick to.

  5. Add Glue

    Brush regular white glue onto the sticky side of your wall decal. This strengthens the adhesive and also helps reactivate it if it dried out.

  6. Buy a New Decal

    As a last resort, if nothing else works you can always purchase a replacement wall decal. If nothing else worked, your decal could be too poor quality or in some way defective.

    Remember, it is normal for wall decals to lose some of their stickiness as they age or are moved. Under those circumstances, there may not be much you can do except ordering a new wall decal.

Related: How to Reuse a Wall Decal

Generally, most issues with getting your vinyl wall decal to stick to the wall can be avoided through proper preparation and research. It is cheaper to buy high-quality, commercial grade vinyl in the first place than to spend hours trying to find a band-aid solution before ultimately replacing your wall decal. Make sure to follow the instructions that came with your vinyl exactly, and you shouldn’t have any problems applying your decal!

Posted on

Can Wall Decals Be Reused?

Can Wall Decals be Reused

Perhaps you’re moving, and want to take your decor with you. Maybe you just think that a vinyl wall quote would look better somewhere else. Whatever the case may be, reusing wall decals may seem like a promising alternative to purchasing entirely new ones. However, it is easier said than done. In this article I’ll cover the two main obstacles to removing, saving, and reusing reusing vinyl wall decals, as well as how you can try to work around them.

Removing the Decal

While wall decals are easily removable, it can be difficult to get them off the wall in one piece, especially if it is a larger decal or one that was shipped in multiple pieces. Cheap vinyl will also often tear. Following best practices like heating the decal with a hairdryer can help, but successfully removing your decal in one piece is still a tall task.

Weakened Adhesive

In order to remove a wall decal, it is usually necessary to weaken the adhesive. The most common form of this is by heat. However, the adhesive on a wall decal naturally weakens when it is removed. Often some adhesive remains on the wall, or microscopic bits of paint or dirt stick to the decal, lessening its stickiness. This makes it hard to reuse- the vinyl just won’t stick to the wall again.

Important Disclaimer

While wall decals can sometimes be reused, we don’t recommend it. Attempting to reuse a vinyl decal can cause a mess, destroy your decal, and often doesn’t work. If your design breaks and you need to create a new one, visit our lettering designer or contact us. However, if you decide to try it, following the steps listed below will give you the best chance of successfully reapplying your wall decal.

How to Reuse Wall Decals

Despite the challenges of adhesive and removing the decal, under some circumstances wall decals can be reused. It takes patience and a steady hand, and requires the vinyl to be high quality. This works better with glossy vinyl, which has a stronger adhesive than matte vinyl.

Once you’ve started the process, try to finish within half an hour. The adhesive on the wall decal dries out when exposed, which weakens it further. If you’re planning to save your vinyl wall decal for a longer period of time, you will have to add extra glue.

1. Prepare the New Location

Before you remove the vinyl, it is important to prepare the decal’s new resting place. Wash off any dirt or accumulated grime that may have built up on the wall, then dry it off. This will help ensure the adhesive sticks.

2. Remove the Decal in One Piece

Next, carefully remove the wall decal in one piece. The best process involves using a hairdryer and tweezers, and is also less likely to damage the paint.

3. Strengthen the Adhesive

Place the decal sticky side up on a table or workbench. Brush or dab watered-down white glue (Elmer’s works just fine) onto the adhesive. This will supplement and strengthen the weakened adhesive.

4. Place the Wall Decal

Once you’ve prepared the decal to be reused, place it in the location that you cleaned earlier. Putting the decal on the wall is the same as when you first placed it. If the adhesive doesn’t stick, you can try rubbing the back of the decal with a tennis ball. If it still won’t stick, you can either add more glue and try again (cleaning the location in between) or order a new decal.

Posted on

How to Remove Wall Decals Without Damaging Paint

How to Remove Wall Decals Without Damaging Paint

One of the biggest upsides to vinyl wall decals is that they are easily removable. However, sometimes the paint under the decal sticks to the vinyl when it is removed. This can ruin the wall by removing spots of paint and resulting in a patchy look.

To avoid this, there are a few important steps to take to ensure that your wall decal will remove easily and cleanly, without damaging your paint job.

1. Warm the vinyl with a hairdryer

Turn your hairdryer on low power and gently run it back and forth over the wall decal. The heat from the hairdryer weakens the adhesive on the vinyl. This makes it much less likely to remove any paint when you take your decal off. Focus on the corners, as that’s where it is easiest to begin removing the wall decal.

2. Peel the corner with tweezers

Using a pair of tweezers or your fingernails, gently peel back one corner of the wall decal. Once the corner is peeled back, check to see if there is any paint sticking to the vinyl. If there is, spend a few more minutes heating it with the hairdryer. If no paint is removed, peel back the rest of the decal. Work slowly and reheat sections with the hairdryer as needed.

3. Remove leftover adhesive

Scrub the wall gently with warm, soapy water to remove any adhesive residue from the wall decal. Be careful not to scrub too hard, which can damage the paint, especially if it was weakened by the vinyl removal. If the adhesive doesn’t come off, you may need to use a specialized adhesive remover (just make sure to test it first so it doesn’t harm the paint either). This step is especially important if you are removing a decal from a window or glass door, where traces of leftover adhesive are easy to see.

What to do if your decal damages the paint

If you used high-quality vinyl for your decal and removed it following the steps above, it is extremely unlikely that your paint will be damaged in any way. However, it does sometimes happen. If the wall decal ruins a section of paint on your wall, use a scraper to gently remove any flecks or curls of paint. If you don’t have a textured wall, you can also use sandpaper. Then, find a matching color of paint and repaint over the section. As a low-budget alternative, you can also cover up the damage by hanging a poster or moving furniture.

If you have any other questions about vinyl wall decals, please check out our FAQ page.

Posted on

How To Apply Vinyl Wall Lettering (Step By Step)

Second, you’ll do your 1st Rub. Use the applicator to rub the letters, with it still encased in the transfer paper. (It’s still a sandwich). My wall was highly textured, so I had to rub and rub and rub and rub.

Vinyl decals and wall quotes can sometimes seem tricky to apply. However, they are quick and easy to install. By following the six-step process below, you can apply a vinyl decal painlessly to any surface, avoiding folding, tearing, or creasing your decal.

Depending on where you ordered it, your wall decal probably arrive in a cardboard tube mailer like the one below:

Wall Lettering tube with a wall quote from Vinyl Wall Expressions

Inside the cardboard tube, you’ll find your vinyl decal attached to transfer paper or a similar backing. Most vendors will also provide some sort of written instructions on how to apply your decal, but those aren’t always especially descriptive or helpful.

Sheets of vinyl wall lettering on transfer paper from Vinyl Wall Expressions

Materials

Outside of what’s included in the package you’ll need all of two basic household items:

  1. Masking Tape
  2. Measuring Tape OR Level (This one’s optional and only necessary if you’re a perfectionist.)

Let the quotes lie flat for a while (because they come rolled up), or just roll them backwards a few times.

Use the level or measuring tape to determine exactly where your quote will go. This is especially important if you are applying a larger decal or wall quote. It can also help if you gently wash/wipe away the dirt on the wall, and then allow it to dry.

Note: I’ll be demonstrating the process with the second line of our quote. So, we’re starting with this:

Installed wall quote from Vinyl Wall Expressions

Applying the Decal

1. Tape the decal to the wall

Think of the quote like a sandwich – on the bottom you have your back paper, then the actual letters of the quote, then the transfer tape on top.

First, use the masking tape to tape your quote to the wall, facing forward. Think of the quote like a sandwich – on the bottom you have your back paper, then the actual letters of the quote, then the transfer tape on top.

Applying a vinyl wall decal with transfer paper and masking tape

Caitlin’s Confession: Influenced by my less-particular sister, I didn’t actually use the level. We eye-balled it.

2. Rub the decal onto the wall

Use the applicator to rub the letters, with it still encased in the transfer paper. (It’s still a sandwich). My wall was highly textured, so I had to rub and rub and rub and rub.

Rub on the vinyl wall decal through the transfer paper

3. Flip the decal up

Just flip it on itself, so you can remove the back paper.

Peeling the transfer paper away from the decal
Peeling the transfer paper apart from the decal.

4. Place the vinyl

Slowly place the vinyl in its final resting place on the wall. Once you’ve started applying the lettering or decal to the wall, try to avoid peeling it up and moving it, as this can weaken and remove the adhesive.

Realign your wall decal

5. Rub the vinyl again

Rub the decal a second time. (The transfer tape is still on top of the wording.) This will help make sure it doesn’t stick to the transfer paper when you remove it.

Rubbing the vinyl letters against the wall

6. Remove the transfer paper

Carefully (and slowly) peel away the transfer paper from the back of your decal. If a letter sticks to the transfer paper, put the transfer paper back over it and rub it a few more times.

This is the last, and sometimes the longest, step in applying a vinyl wall decal.

Remove the transfer paper from your vinyl decal

When you’ve finished applying and then admiring your decal, it will stick just fine right away. However, you should avoid heating it or rubbing against it for a few days.

Admire your finished wall expression!

Final Tips

Depending on the surface of your wall, you may have some extra difficulty applying a vinyl decal. If it won’t stick, here are some tips to help your decal stick. Textured walls can cause some extra difficulty, as can dirty surfaces like cars and rough surfaces like wood or canvas.

When applying a larger decal, it’s also important to pick one place to start rubbing the decal to avoid any sort of bubbling. For applying a vinyl decal to your wall, you do NOT need to use a sealer- in fact, it can actually get under the decal and keep it from sticking.

Posted on

Video: How to Use The Custom Vinyl Lettering Designer at VinylWallExpressions.com–Part 2

Part 2: Changing the Shape of your phrase and Adding Decorative Ornaments using Vinyl Wall Expressions unique lettering design tool.

This video is Part 2 in series for how to use the VWE lettering design tool to make your own custom wall quotes.

Part 1 is about changing fonts, colors, and sizes.


  • This video shows you how to use our custom vinyl quote designer tool.
  • How to bend your text into a wave shape.
  • How to add a decorative ornament, change its color and height.
  • How to center your text.

Happy Designing and let us know if you have any questions or comments about vinyl lettering design or anything vinyl!

Posted on

Video: How to Use The Custom Vinyl Lettering Designer at VinylWallExpressions.com–Part 1

How to design custom vinyl quotes using Vinyl Wall Expressions unique lettering design tool.

  • This video shows you how to use our custom vinyl quote designer tool.
  • We show you how to use different fonts, colors, sizes, and shapes for your text.
  • We’ll show you how to view the size and dimension your design and the price.

Happy Designing and let us know if you have any questions or comments about vinyl lettering design or anything vinyl!